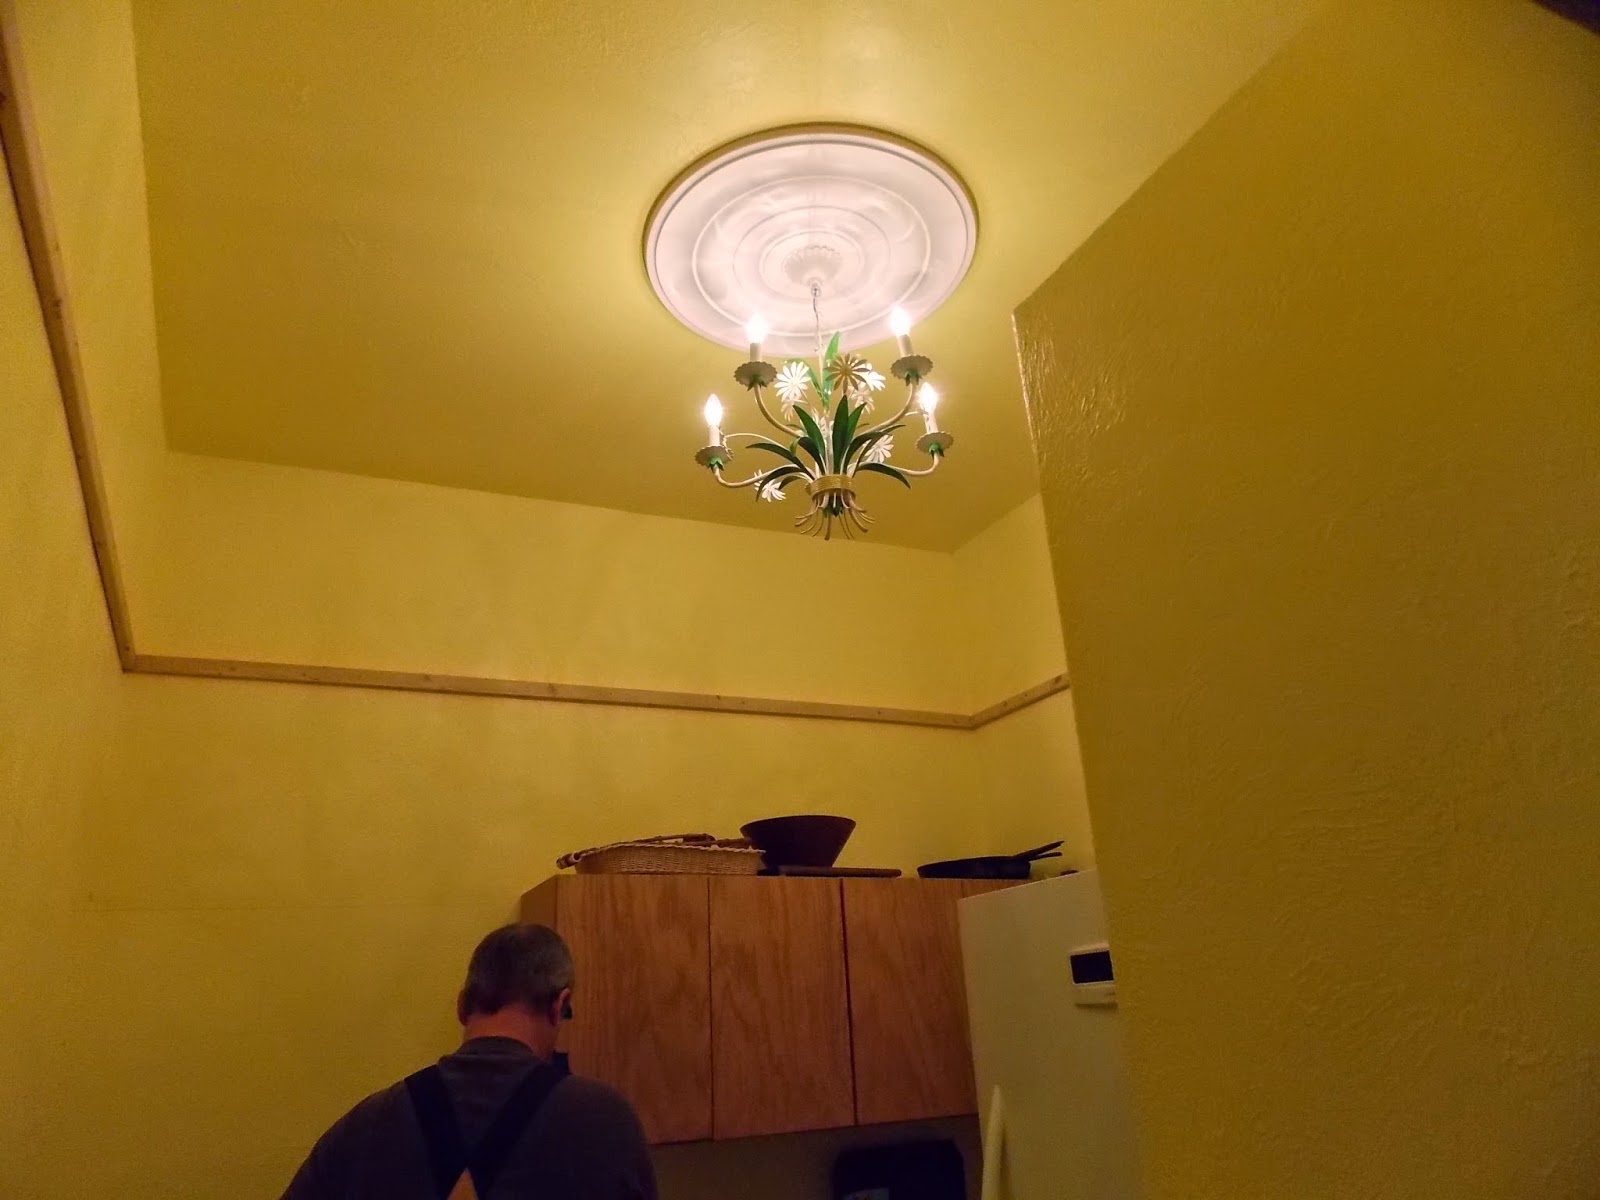
Saturday, January 10, 2015

Blackboard In The Pantry

To put an end to the Pantry shelves at the door we needed to put a board, How boring to just have a plain painted board that will be the first thing you see as you come into the Pantry.


Blackboard paint to the rescue. Brought the board into the apartment and sanded til the board was a smooth as can be. One coat of primer and sand again. One coat of blackboard paint and sand. Put the board up, fill the nail holes, sand the fill and paint the final coat.


 Didn't like the way the corner looked once it was up so we rounded the corner.


Cool place to write my grocery list and just snap a picture of the list to go to the grocery store. And I am sure the grandkids will spend hours drawing pictures.


A Hallway


We have a real for true hallway. Doors leading to rooms off of it and everything.


Unpacked


First day of unpacking boxes.


All our beautiful crystal, my Grandma's china, Bill's Grandparents Japanese dishes, baking pans, serving plates, lots of stuff. I can bring flowers in the house because my vases are unpacked.


 So excited about our stuff. It's like it is all new to us now.


Beetlejuice

To paint the Cleaning Closet door we put it into the apartment. Bill loves it there, says it reminds him of the movie, Beetlejuice. He wants to do something like this in the Residence. I can't imagine it, but we'll see. We have no doors in the apartment so it is a novelty.


Shelves Shelves Shelves

I had no idea getting shelves could be this exciting.


First run of shelf support going into the Pantry.                                                                                              


I spent a lot of time measuring how tall I wanted the different shelves to be to match up to how I stack cans in the pantry. We had it all planned out with 9 1/2 inch shelves, 15 1/2 inch ones and on 11 1/2 shelf. Then when we moved the cabinets into the room I realized that if the shelves didn't line up with the top and bottom of the cabinets I would be a basket case. I don't remember being this way when I was younger but I really crave everything lining up evenly now a days. So all my measuring went out the window and my shelves are taller than they need to be but it all flows.
 Beautiful Melamine sheets. This is the template is for the Cleaning Closet.
 Power Grab and screws into the shelf supports.
 Level, level, level. Don't want anything rolling off these shelves.


 Looks like art work on the walls. It all lines up with the cabinet lines.
 Cleaning Closet shelves up and ready for stuff.

More Stuff

Love it when pick up loads of stuff come home. A pick up load at a time isn't overwhelming and we know we can do that project.
Here is the Coat Closet door and all the Melamine boards for the shelves. Also, the 2x4's we will rip into supports for the shelves. It costs less to rip our own boards than to buy the correct size and it takes about 10 minutes. The Grandkids are here for the day so they get to experience one more building step. The boys are excited to here they get to help rip something.

Biscuit Maker

Christmas weekend we were at the lake and watching OETA. We have antenna television there so we see programs we don't see at home. We were watching a show on "Joinery". And what is "Joinery"? It is the practice of joining wood together to build things. We saw dovetail, bowtie, biscuit, dowel, and several really old techniques used for fine furniture making. It was very appropriate since we were at the step in the Pantry to build the shelves. A quick call to Daddy and we have a biscuit joiner we are able to borrow. Love it that we have access to all the tools, we don't have to buy them and we are using my Daddy's tools. Bill thinks my Daddy is a great man and loves him as his own so he smiles when he is using these tools.

This is a biscuit. It's amazing, this little wafer of wood with a little wood glue and two slits cut into wood make an incredibly strong joint.


 This is the biscuit maker. It is a  blade that you hold in place and then depending on the size of your biscuit you move it side to side matching numbers. I believe there are 3 sizes of biscuits.


Add a biscuit with a little wood glue or Grab All.

 After making the slit in the one board you make a matching on in the board you are joining it to.


 First shelf going in. This shelf runs along three walls so it was put in first to be sure it run straight.

Because of the length of the shelf run Bill clamped this joint for 24 hours to have a little assurance it would cure straight. 24 hours is longer than needed but it is so cold we wanted to be over cautious. Still no heat run into these rooms.


Beautiful joinery done by my husband. We caulked all the joints and touched up the paint.